I can’t believe the weather we’ve been having the past week or so! It’s like July in May! I’m loving it!
The warm weather and sunshine just beg for me to come outside and do something!
So this weekend, I figured why not do some wedding projects. I mean – it’s not like I have a shortage of them to do!
I wanted to start with something small but impactful. I love crafting. I think it’s fun and I love seeing the end result. However, I should probably note, I’m not the most creative person in the world nor do I have a “natural talent” for anything creative. In all honesty, I’m a logistics kind-of-girl, but there is a part of me that really does enjoy being artsy!
I had the perfect DIY. Something pretty easy to not screw up LOL
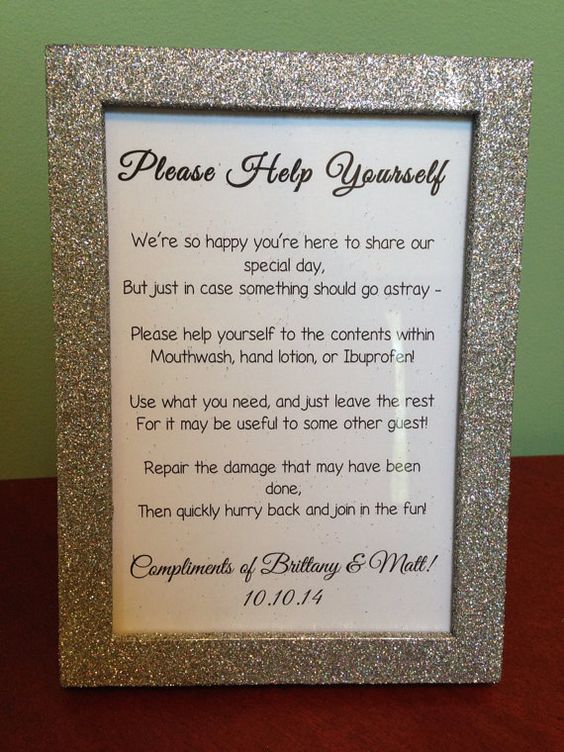
First, let me show you my inspiration for this project.
I wanted to make these to put into the bathrooms with a basket of items guests may need. This particular frame sells for $13.41 + Shipping ($39 from the States – for a total of $52). This is just one example, I’m sure I could find it cheaper if I looked. But why bother? I knew I could make it!
I had a box of old picture frames lying around and decided to give it a go with one of those. What did I have to loose right? All I needed to buy was the glitter paint.
So off to Home Depot I went and picked up Rust-Oleum Glitter Spray Paint in Silver. They had it in other colours too (Gold & Red I think) but Silver is one of my colours so that’s what I grabbed. It was a little on the pricey side, $15.27 a can, but I figured I would probably be looking to spend that (or more) to purchase something similar. I decided the investment was worth it.
Sometimes you’ve got to spend money to make save money!

I took my supplies outside – the frame, the spray paint, a sheet of sand paper and a piece of cardboard.

The first thing I did was lightly sand the frame. It’s a metal frame, so I wore gloves to avoid any slivers.
After sanding, it was time to apply the first coat of glitter. It took some getting used to. The speed and consistency of the spray mostly. Let me just tell you, glitter was flying EVERYWHERE! The first coat provided pretty decent coverage, but I could clearly see the black & gold still.
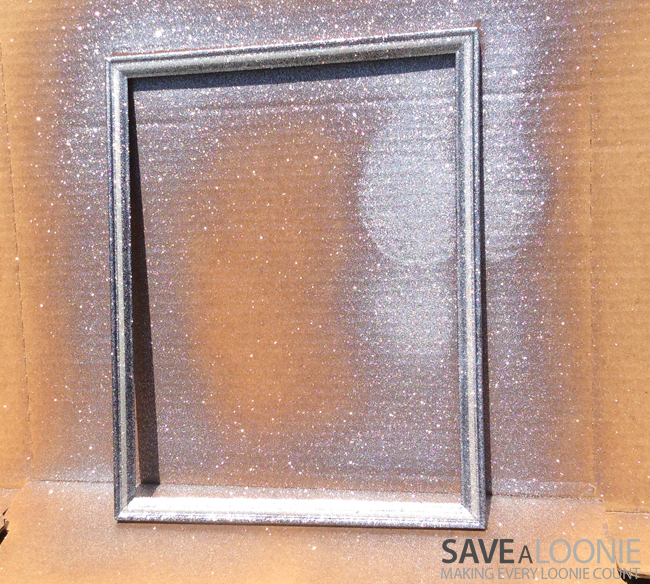
A few minutes later, I put on a quick coat 2 & 3 and was super impressed with the results! However, I used A LOT more of the paint than I was expecting too.
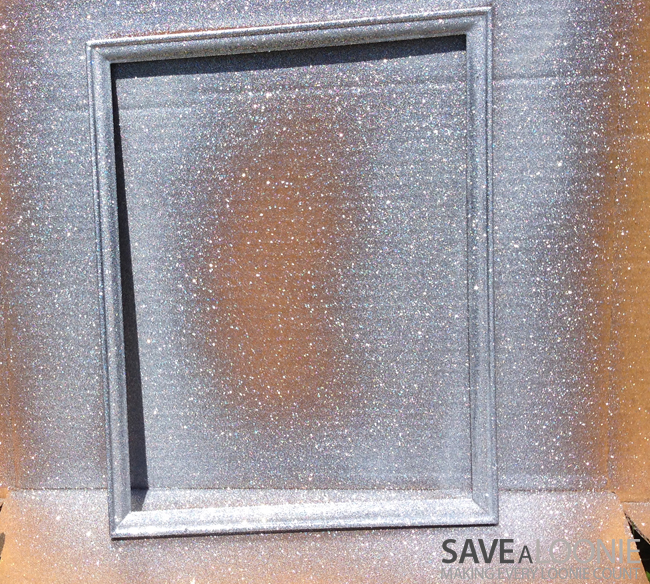
The only issue was, even after it was completely dry, every time I handled it I would get covered in glitter. No good.
So back to Home Depot I went and picked up Rust-Oleum Glitter Clear Sealer. Another $15.27.
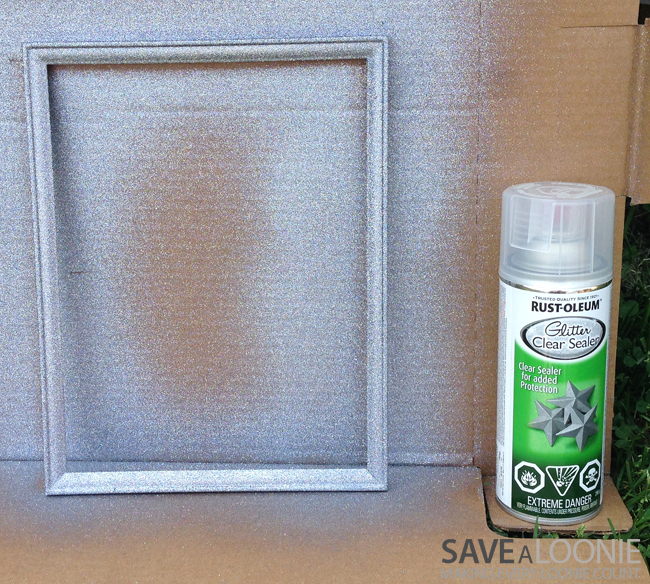
So now things have gotten a little more pricey but honestly, the sealer makes ALL the difference. Two coats of sealer and there is not a sparkle out of place! And there is a TON of sealer left. More than enough to do several more projects so the investment is worth it.
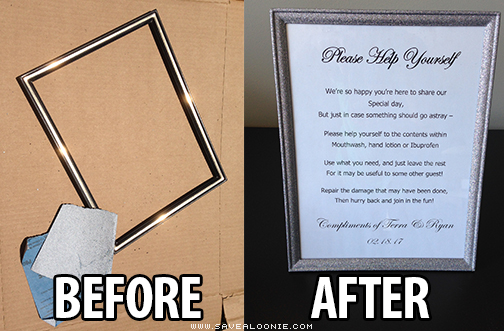
I wrote up the poem, made a couple of edits & personalizations, printed it out and VOILA!

I am absolutely so happy with this! I know it’s nothing super artistic or difficult, but I did it and IT. LOOKS. AWESOME. I can’t wait for our guests to see them!
Every time I tick something off the Wedding Checklist I get just a little more excited about our Big Day, as if I’m not excited enough!
But with every experience, there is a learning curve. Here are some things I learned for next time:
- Instead of sanding the frame, prep it with a primer. It saves the struggle of sanding and reduces the amount of glitter needed to cover.
- Buy the sealer. I know I already said it but trust me, its necessary if you’re going to do this project.
- Do more than one thing at a time. The frame I did was small and there was a lot of over spray. If I had the other 3 frames I want to “glitterize” all ready to go at once, the over spray from each helps cover the other and save on the amount of glitter used in the end.


